Showing posts with label gardening. Show all posts

Wednesday, April 17, 2013

Flower Child


OK Jennifer, I know you probably have some young girls in your family who would love to be your flower girl, but are they as skilled or dedicated as our Little Miss Claire? It's still over a year a way and she's already practicing! 

What actually happened was I was out front watering the sod and turned my back on Claire for just a second. During that time she managed to pluck every single flower from one of the plants in our front bed. At first I was a little frustrated at her naughtiness,  but then she proceeded to pick up all the flowers and fill her shoes up with them. Come on, that's adorable. In fact, it was so cute that those dang shoes are still sitting on my counter filled with flowers because I couldn't bring myself to throw them out. I might actually get this picture printed and hang it on my wall. I'm smitten.

Thursday, April 11, 2013

Potting Shed: The Final Fix Up

Since the early days of this blog I have talked about my potting shed. For years I had planned to fix it up, and it would be the envy of all the other potting sheds in the land. The reality is it didn't get done. In fact, it only got worse. Last winter (Yes you read that right, and not the one we just came out of, the one before that) the roof got a leak in it which made the ceiling start to sort of cave in in one spot. Jeff pulled off the drywall and all summer the roof sat there waiting for us to decide whether we were going to hire someone or do it ourselves. After several attempts Jeff was able to patch the roof successfully  We let it go through a couple of storms this winter to make sure it wasn't going to leak before we put a new sheet of drywall on the ceiling. All I have to say about that experience is drywalling a ceiling sucks and I don't recommend it. I thought one of us was going to die.

Once the drywall was in place it was my turn to take over the project. There was a lot of mudding and sanding to get the new drywall to blend with the old, and Jeff did a pretty good job with the texture to make it look like the rest of the ceiling. I then (with a little assistance from my mom) painted the walls and the supports of the shelves. Those suckers took a while. Luckily since it was white on white it all only needed one coat. I also sanded down the front of the drawers because there was weird glue and who knows what else stuck on their faces. Once that was all done Jeff and I worked together to get the old floor tiles up and then I scraped down and sanded the sub floor. This floor is anything but level, but there was only so much I could do about that. Mostly I just evened out the seams between boards with a leveling agent and then sanded it down to make a smooth transition. Laying the linoleum tiles was mostly fun. It got a little harry around the shelves, but for the most part I'm proud of how it turned out. At the end of the day I had to just keep reminding myself that it's only a shed.

So here it is folks, my newly redone shed with no collapsed ceiling  no weird peeling up tiles and a fresh coat of paint. If you want some reference to what it used to look like you can click here and here to see my previous shed posts.


Saturday, March 30, 2013

Gardening With Grandma

Ever since I was a little girl, gardens have been a constant in my life. I remember my mom's giant raised beds from the perspective of a little girl up in Grass Valley. In my memory her garden stretched on forever and the green of the plants towered over me. In Indiana she had rows of corn growing in the ground, and we lived in hate of the beetles that liked to devour those delicious kernels as much as we did. She had raised beds filled with potatoes that were like little hidden treasures. When it was time to harvest them we'd pull buckets of spuds out of the ground and spread them out on the back porch. Also in her raised beds were wax beans, but well, lets just say I had one enemy in her garden. When we moved to Sacramento half the back yard was set up with raised beds, and in that space my mother grew the biggest tomato plants I have ever seen. We stuffed ourselves with BLT's all summer and enjoyed chili with canned tomatoes in the winter.

Now we have a new generation to pass the gardening bug onto, and this last week my mom did her best to do just that. While I was working on a new flower bed my mom and Claire planted potatoes together. I kept getting distracted from my project by the cuteness of the two of them playing in the dirt. It seemed only right that Claire got her first gardening lesson from the same person who gave me mine. 


 You will note the amount of mud around Claire's pacifier in the video. That happened in the picture right above it. I was going to take a photo of Claire inspecting a handful of dirt and just as I was snapping the photo she shoved the handful of dirt into her mouth. I just tell myself that she is learning how to test soil quality. Also note her pants from the knees down. That's not a shadow, that's mud. Le sigh. 


Saturday, March 9, 2013

Sodding Our Yard

In the three or four years that we've owned this house there have been many times when I wanted to put a sign out in our front yard that read "Dear neighbors, I'm sorry." Our yard has been an eye sore and a good example of why people invented HOAs. Of course we have good excuses. We started our efforts on the inside of our house so the yard has been dangling at the end of our to do list since purchasing the home. We've also been busy over the last couple of years with getting married, cookin' up a baby and then raising one. Now, however, we are looking to sell our beloved little home and have had to get crackin' on our long forgotten to do list. 

Earlier this week we decided that this Saturday would be devoted to laying sod in our front yard. Even before we had decided to sell, we knew we would want to sod that area this Spring because I finally gave in to the fact that a big front yard garden and a baby don't mix well. I was going to scale back my efforts, but with wanting to move we had to speed up our timeline. During Claire's naps this past week I weeded, tilled and leveled the empty half of our front yard and did the research and ordering of sod. The prep took about 4.5 hours, but wasn't as hard and I had anticipated. I had weeded that side of the yard earlier in the winter so my job wasn't quite as rough as it could have been. After breakfast Jeff went to pick up the sod and we got to work.

Laying sod we actually kind of fun. It was cool to do a yard project that produced instant gratification (a rare thing indeed) and the process of rolling our grass like it was carpet was just interesting. Part way through we realized we were going to have plenty of extra sod so Jeff set to work ripping out weeds and leveling the other side of yard to lay sod there. We had planned on doing bark around the raised beds, but we figured why waste the extra sod. We had enough to do about half of that side of the yard and will do the rest later this week. 

I wish we had decided to do this project before I got pregnant! It was so much easier than I anticipated and it would have been way less time consuming to take care of than a garden. It looks so nice out there now I kind of want to have a party before we sell the house to show everyone! No more making apologies for my front yard. Yay! 


Thursday, October 18, 2012

Prickly Pears: A How To

I've never been a big cactus fan, but we inherited a group of prickly pear bushes that were growing in our chicken run when we bought the house (you can probably scavenge them around your area too if you look hard enough). As my husband hates to pull up any green and growing thing, I have to pick my battles on what I try to get rid of. This year however, I gotta say I had fun harvesting and processing the fruit with him. It's been a long while since he and I were able to work on a food/garden project together because someone usually has to be keeping an eye on the Wee One. Claire was a good girl for this project though, and went down for her nap when we started and woke up from it just as we were cleaning up.

The biggest thing to deal with when working with prickly pears are the thorns. Its not so much the big obvious thorns that will get you. What you need to be concerned with is the layer of fine as peach fuzz thorns that also cover the fruit. How to get rid of all of these thorns is the subject of this post, along with lots of fun pictures involving fire and the like.

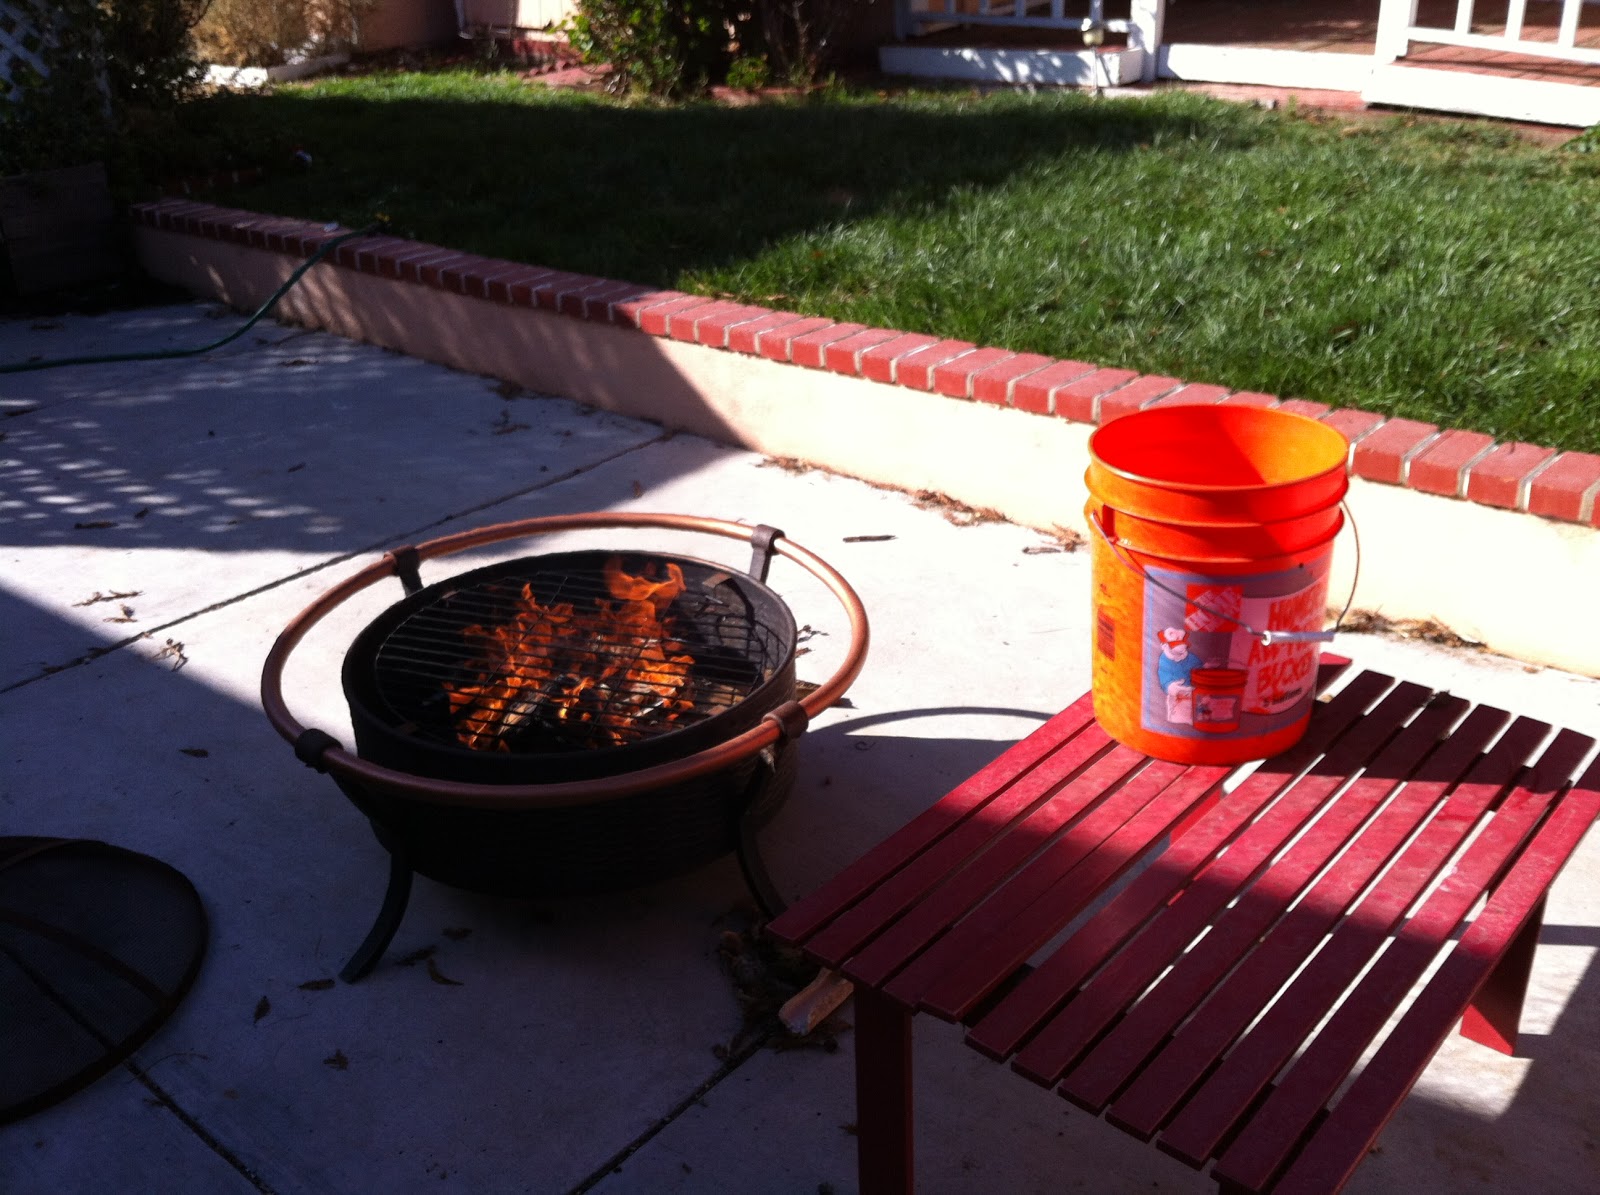
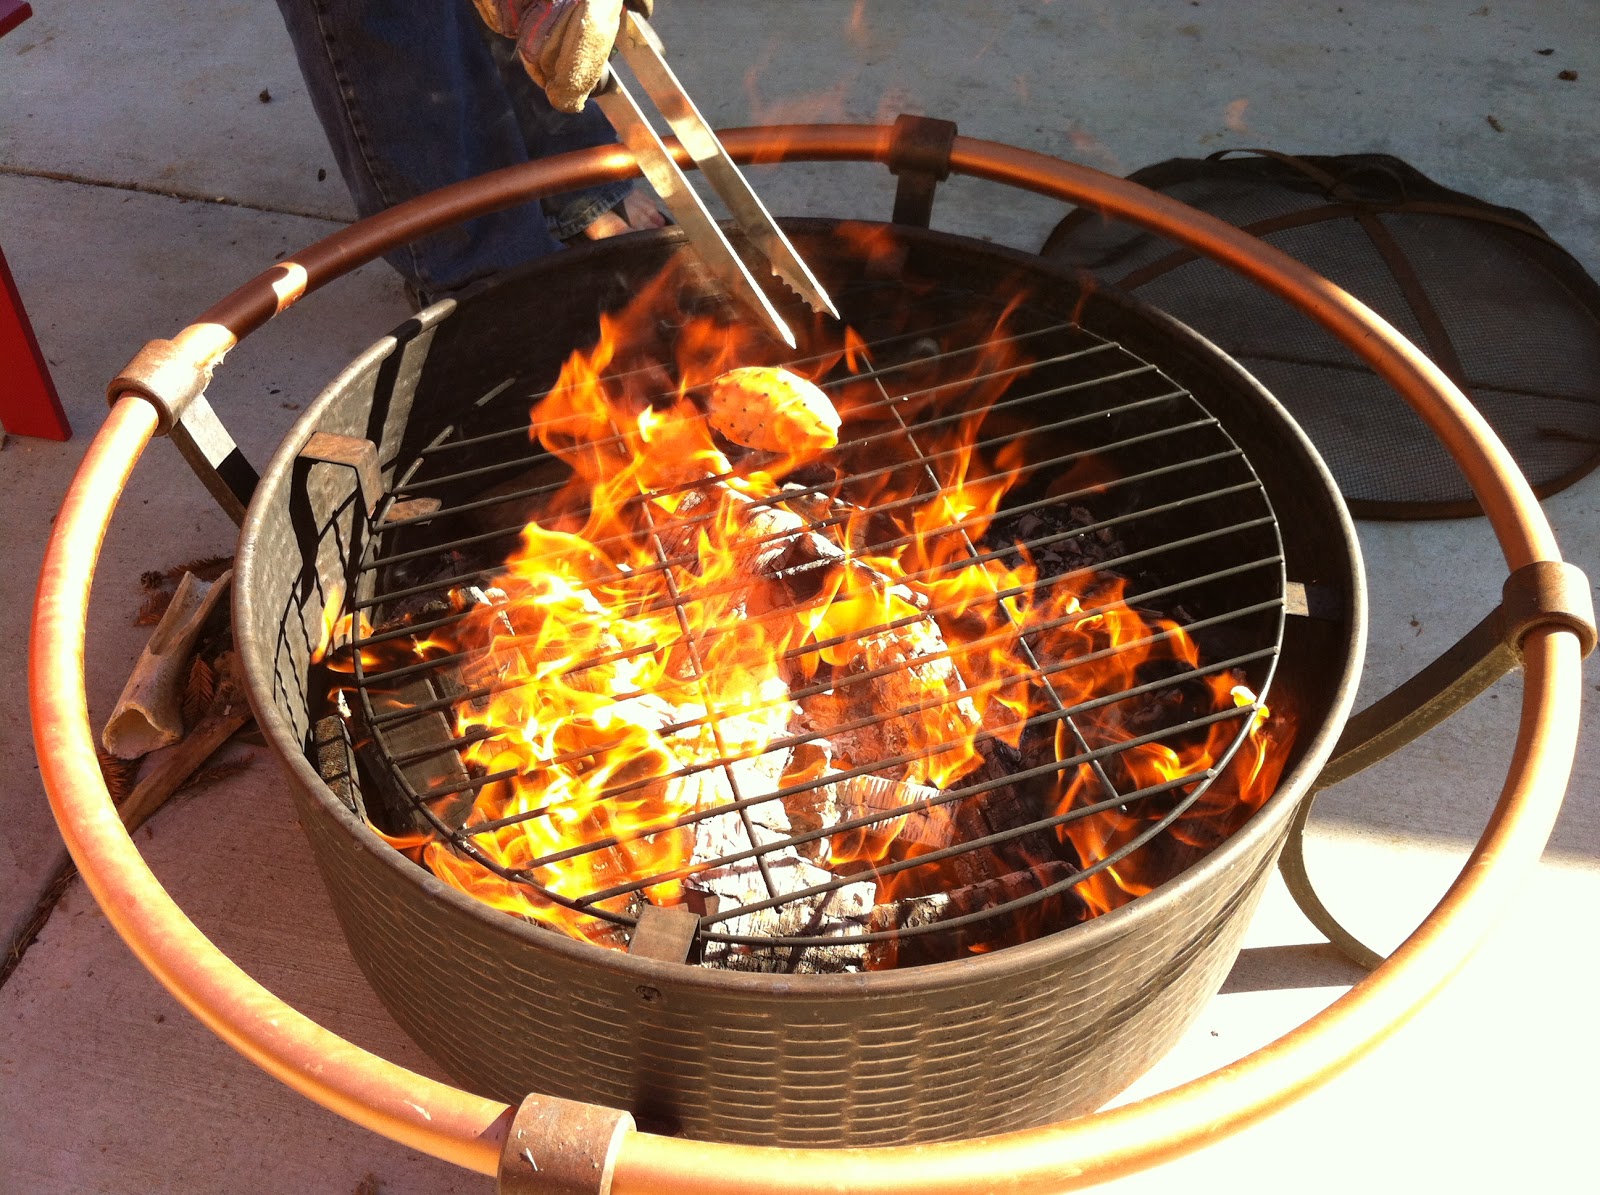
After a little online research, Jeff found the best way to get rid of the thorns was fire. Other ways that people take care of them is by rolling them in sand or straw/weeds. Fire won for many reasons like it sounded more fun, less labor intensive, more effective at getting rid of all those little buggers that are so fine you can't see them and we happened to have a fire pit full of wood in our back yard. The Internet recommended using a blow torch, but I think our way was more romantic and probably the way great grand pappy would have done it. Well, that is if our great grand pappy's were a little less European.

The basics of the process is as follows.

1) When your prickly pears have turned a nice red color, carefully pick them with a pair of tongs. We found the kind you'd use in the kitchen (as opposed to BBQ tongs) worked best for this step. The fruit will be pretty delicate so just gently twist and pull until it pops off. DO NOT TOUCH THE FRUIT WITH YOUR BARE HANDS!!

2) Whatever fire source you are using needs to be big in the flames department. You want them to actually lick the fruit. Using BBQ tongs, roll your fruit around in the flames until the skin becomes shiny and a little dark. Be sure to pay special attention to the ends of the fruit where the big thorns are. Heavy gloves to protect your hands from the heat are recommended.

3) Place your fruit in a bucket of icy water to cool.

4) Peel the fruit by cutting off the ends and then running your knife along the sides. The skins should come off pretty easily.

And that's all it takes my friends! This was effective enough at taking off the thorns that I didn't wear any gloves to peal them. I'd be lying if I said no thorns poked me, but after a good hand washing they seemed to all come out. We harvested five gallons of prickly pears and juiced them. In my next post I'll let you know what we made with them!


After a while we realized doing one at a time was a waste of time.


Well I'm pretty sure my grandpa never juiced prickly pear back in his day, but this juicer of his still has a lot of life left in it.

 
The final product.


Friday, July 20, 2012

Garden Update

My long suffering garden is in full swing right now. We've had our first fresh made pasta sauce of the season, enjoyed quite a few zucchini breads and I'm thinking tonight I shall turn some of our tomatoes, bell peppers and onions into pico de gallo. As you can see from earlier blog posts we also have been enjoying fresh strawberries over cake, dipped in chocolate, warm and unwashed standing in the front yard, etc.
I didn't expect these to start our so neon yellow. They will eventually turn a deep orange.

There are two plants I'd like to high light in this post because I'm very excited about them. The first is our Cinderella pumpkins. I swear these squash grow so fast you can see it happening. I guess that makes sense since they are going to get pretty big (up to 25 lbs.). I imagine there are going to be a lot of pumpkin recipes posted here when fall comes. I'm particularly fond of winter squash in Thai curry so I'm sure that's where a lot of it will end up. The pumpkins vines are huge as well. We've had to continually redirect themto keep them from climbing up our palm tree. One vine is even making a run for the other side of the yard by creeping across the path that separates our raised beds from our squash bed.


The second plant I'm really excited about is our eggplant. I bought these on a whim and was pretty certain they wouldn't do well in our chilly climate. I planted them up against the house because even though that area doesn't get a ton of sun, the house traps heat and keeps that area warmer as the general air temperature cools. So far I've counted five egg plant growing away out there. Inspired by some of David Lebovitz's most recent blog posts about a trip to Israel, I think I might try and BBQ some of these once they're mature. I think the smokiness of a charcoal fire would pair well with the already smokey flavor of eggplant.

Wednesday, May 30, 2012

A Letter To My Garden

Dear Garden,

I am sorry for the last two growing seasons. As is so often the case, I have been distracted by life events and not given you the attention you deserve. The last couple years have involved more wedding planning and baby making than weeding, and this has been unfair to you. I cannot imagine the shame you felt as the other yards teased you and told you that you looked like a foreclosure. Your weeds have been allowed to grow taller than your flowers and your edible plants have withered away. I won't even begin to apologize for the sins Prince has committed against you. Lets just agree to disagree about whether he was a good addition or not.

What I want you to know is that I can change. I'm sure you've noticed the car seat that often travels past you, and this probably makes you even more skeptical that I will have time for you. You should know, however, that that little squishy bundle of giggles and smiles often takes naps. I promise to spend at least one of those naps out puttering with you each day. I'm sure you've also taken note, that a somewhat healthy looking garden is growing within you, your green grass has actually been cut on a semi-regular schedule and Prince's poo poo no longer overstays its welcome. I cannot promise that you will ever win the prettiest yard on the block award, but I can promise that you will no longer be the worse (have you seen the yard across the street?).

Thank you for this second chance.

Sincerely,
Robin

Wednesday, May 25, 2011

I think I can, I think I can...

Although we haven't had an overabundance of hot sunny days so far this year (What's with the rain storm, it's almost June!), we have managed to avoid the late freezes that seemed to plague gardens last year. Not that things are growing with reckless abandon, but they are keeping a slow and steady pace as the days get longer and the sun spends more time out in the open. My squash patch has been soaking up that sunshine and putting it to good use.


The crooknecks have been making the most progress. All of my plants have several female flower setting.

Not to be left behind, the zucchini plants have just started forming little buds. I remember as summer came to a close last year I thought if I ever saw one again it would be too soon. Now however, I'm craving a large hearty scoop of sauteed zucchini with my dinner!


Well they still have a long way to go, and the butternut hasn't even been planted yet, but I am happy to report a healthy set of squash this year. My heart goes out to the poor victims of the Sacramento hail storm a few weeks ago. I hear many good squash plants perished in those parts as a result. Don't worry, my plants will carry on the good fight.

Friday, April 8, 2011

Garden in Bloom

I've been meaning to post some pictures up all week, but getting ready for our Mexico trip has left me running out the door late in the morning and not finishing with stuff I need to get done until well after dark! Then last night of all things it was hailing when I got home! Luckily everything seems to have come through pretty unscathed so enjoy some lovely photos of Asbury Farms in bloom.


One seedling tray sprouting away.


Strawberry blossoms waiting to transform into plump red fruits.

Green strawberries ready to ripen.
Tomatillo flowers.
I love how tomatillos look like little paper lanterns hanging from the plant.


I can't believe our citrus is already blooming again!


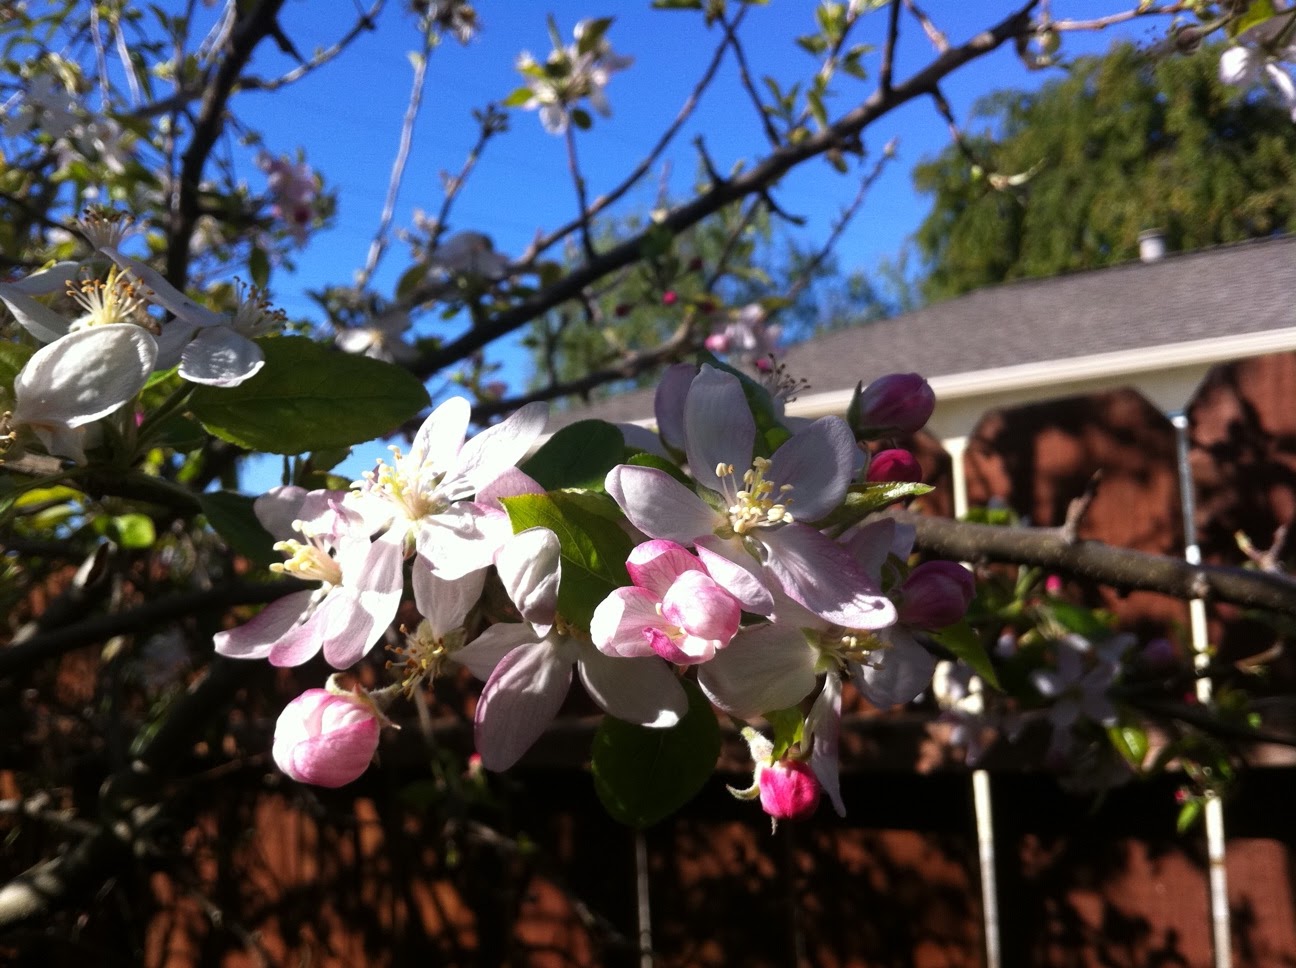
Sweet apple blossoms outside our bedroom window. The bees
are in heaven.

English lavender.
Our wild tangled mess of jasmine. The sent that greets my nose each
morning when I go out to water.
The first set of blooms on our double delights are especially red.
By far my favorite flower in our garden.
This ground cover has endured  a winter's worth of
 attacks from Baby Chick and somehow still lives.

Thursday, March 31, 2011

Liquid Chicken Fertilizer

Ok, so I must admit, I only started writing this post because it's the only thing I could think of to stop me from reading more baby blogs. I've been reading dearbabyblog.com for over a week now. While this woman's life is about as far from mine as I can imagine, I can't help but fall in love with her little family that is filled with all the happiness I hope to one day grow in my own home. She is also a proponent of many ideas I favor, cloth diapering, natural child birth, etc. so I have found her experiences most educational. If you find yourself suffering from a deficiency in cuteness, I recommend taking a little stroll through the pages of her blog.

Now, on to non-baby related topics, POOP. Yes you heard me right, P-O-O-P. It comes out of my chickens and sits there until Jeff or I clean it up. We honestly don't clean the coop out all that often. I had read from another blog/magazine/book (I can't really remember) where one woman says she just throws down a new layer of wood chips every now and again and then does seasonal cleanings of the coop. The new pine chips seal in the old ones and when you clean it out to throw in the composter, the bottom layers have already started breaking down. We have used this same method and found it to be easy on us and the chickens don't seem any worse for wear.

So right about now, as spring starts to take full bloom, it is time for another cleaning. I recently read an article in Mother Earth News which gives instructions for making homemade liquid fertilizers out of the wood chip/poo combination from chicken coops. It also had a fertilizer recipe involving urine (dilute it 1:20 with water and go to town if you're interested), but when Jeff asked, "where do you get the urine?" I figured we weren't ready to take that plunge yet.

So on to chicken poop. You fill a five gallon bucket 1/5 of the way with the chicken poo/wood chip combo and then fill with water. Let the mixture steep for three days (giving them an occasional swish) and then dilute your "tea" 1:1 with water and use as you would any other liquid fertilizer. I'm looking forward to not spending so much on my seaweed liquid fertilizer this year!

Oh and in case you're wondering, "where are the pictures?!" Well, many of you already know what chicken poop in a bucket looks like and would probably rather not be reminded, and for those who haven't you'd probably honestly rather not see it (which I'm happy about since I'd also rather not take my camera near that much poop). Of course there is at least one of you coughHelencoughcough that probably does have a morbid curiosity for pictures. If that turns out to be the case, you are more than welcome to come over next time we need to clean the coop!

Wednesday, March 9, 2011

Herb Garden Beginings

Last weekend I finally took the first steps toward my new herb garden. I have wanted an herb garden in the little rectangular patch of dirt outside our front door for a while now, and in a way, I've had one. It was, however, a flawed herb garden. Sure it had the sage, thyme, marjoram, etc. that any good herb garden should have, but it was smushed in under a couple of rose bushes and two invasive plants that didn't really belong there. Let me tell you, getting caught on a rose thorn while quickly trying to grab some sage for the dinner you currently have cooking on the stove is no fun, no fun at all.

So after finally getting the blessing from my please don't prune or rip anything out husband, I took the first steps toward my new herb garden by ripping out everything that was currently there, which was quite a bit.


The only plant I felt bad about ripping out was the rose near the door. Every year it has given us a plethora of the most beautiful magenta roses you've ever seen. It was so pretty and healthy looking I had to stare at it for a few minutes before I could get the resolve to start hacking away at it. Here is a loving close up I took of it's leaves during this period of introspection and struggle.


I reget nothing else I did that day. In fact, tearing out the succulent that was next to this beautiful rose was down right fun. I hacked it to pieces with a hatchet, and every time the blade cut into the juicy leaves green ectoplasm came pouring out. It also smelled amazing, like a mix of fresh aloe and green beans. I imagine it would make a very refreshing sent for a soap. The thing was also huge (the picture below is just one of it's many heads) so it was quite the work out.


Two plants technically survived the slaughter that was reaped by my hatchet and shovel. The first is a plant whose name I can never remember, but that my family call grandpa George plants. It was found originally in our backyard in a pot, forgotten under a pile of over grown horsetail reed. It was then moved to the front yard, and now lives next to our raised beds. I wasn't very delicate with it, but this thing is a trooper and should do well in it's new home.

Upside down and waiting to go in it's new hole.

The other plant that survived was a little baby rose that i found hiding behind the big ones. I didn't know roses grew little babies, but it was saved and put in a pot in hopes it will some day find a new home. I'm not a monster after all. Who could kill a baby rose?

Now that my slate is clear, I am ready to plan the herb garden. I've done a few sketches of what I envision for it. I want a little path with three stepping stones going down the middle. Looks wise, I'd rather have no path, but without it I'd have a hard time reaching all the herbs. Around the stepping stones I'm thinking either the low creeping mint or baby's tears. Then I want the ground to slope up to mounds on either side of the path where the herbs will be planted. I'll play around with it a bit once I get the plants and dirt, but I'm thinking the herbs should be oriented towards the path in arches. You can see some drawings that make this clearer bellow.


Birds eye view


ground view

If anyone has any suggestions or herb recommendations I'd be glad to hear them!

Monday, August 2, 2010

Squash Update

Well, my squash patch may have died off once early in the season, but the second time seemed to take. The sea of green is making our front yard look a little more planned.

Up front is the strawberry patch that has grown in nicely.

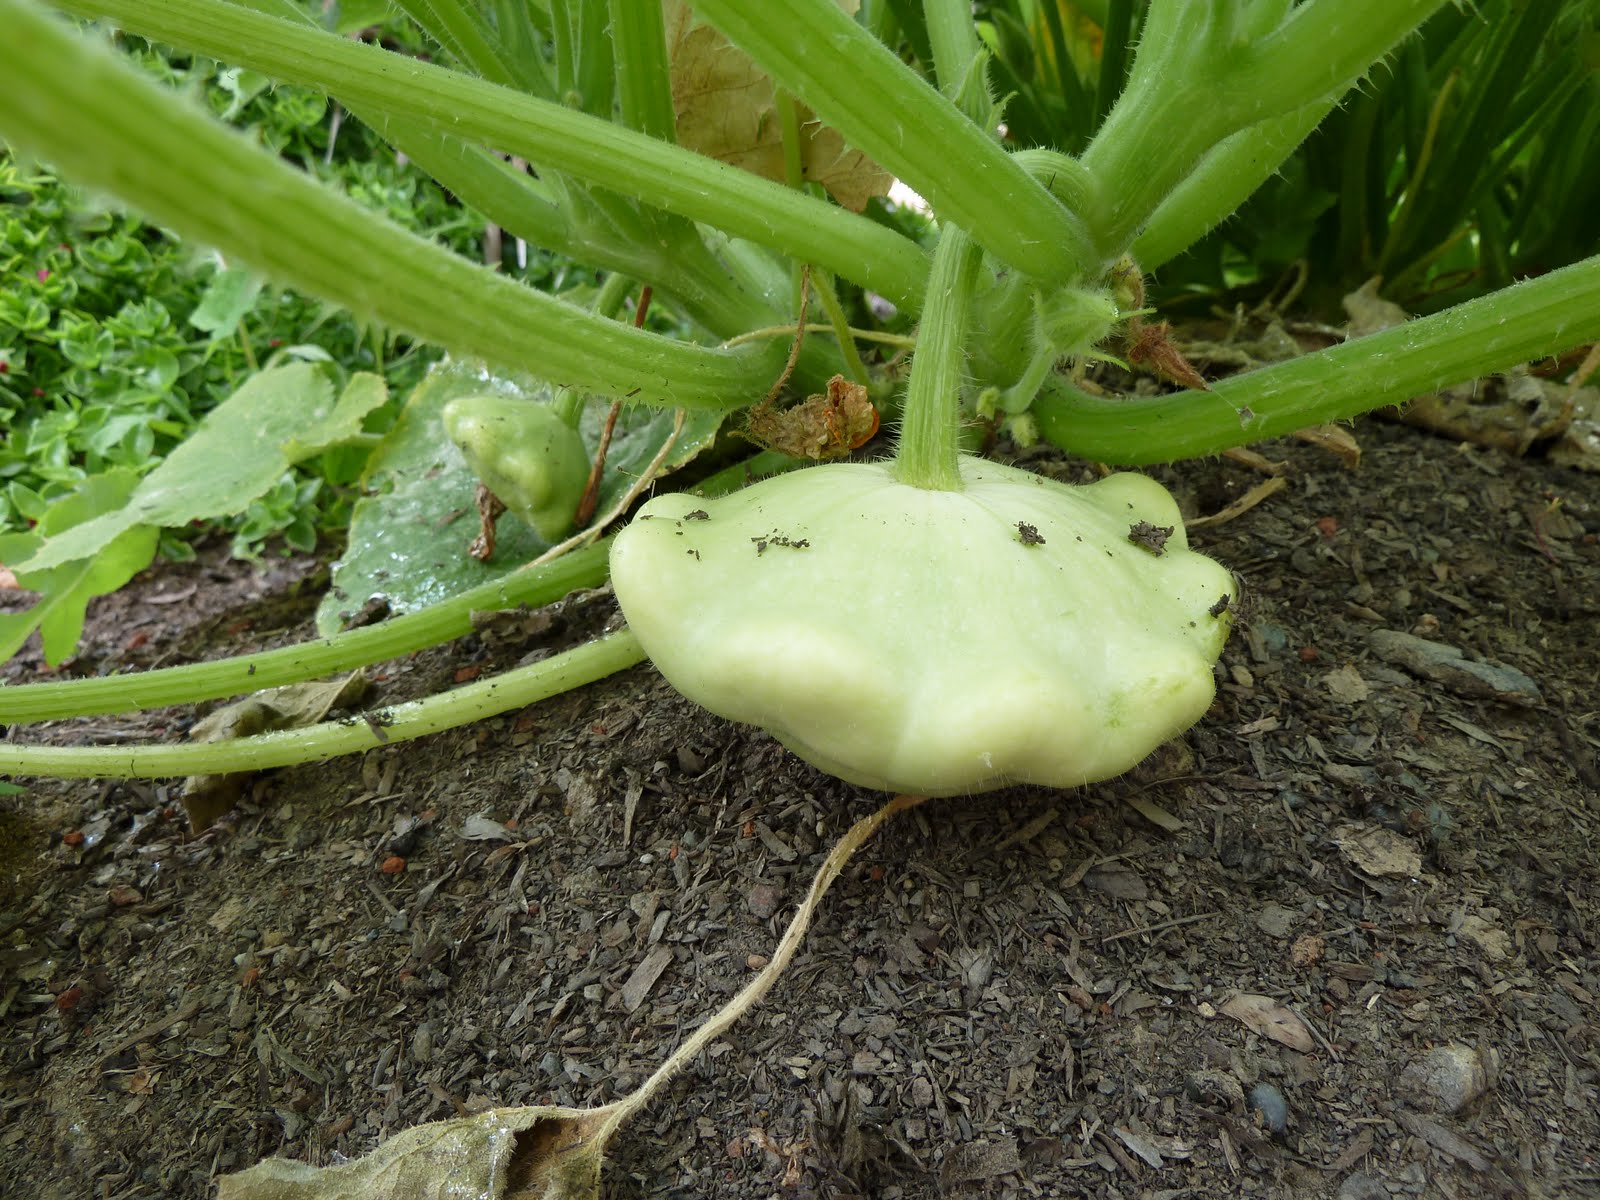
As you can probably imagine from the above photo, it's pretty easy to miss a growing squash. I've been trying to go out and tip toe amongst the squash every couple of days to see how things are progressing, but I still seem to end up with over grown summer squashes. Luckily, they still taste pretty good even when they get big. Here are some close ups from my last tip toe.


A handsome Peter Pan squash ready for the frying pan.


This is either Honey Boat or a Pumpkin. We planted them right next to each other...bad idea.


This one is my favorite. A four inch long Butternut Squash. So cute!!


This is a new experiment, Papaya Squash. What I find intriguing about them is that they are almost a neon yellow and VERY shiny.

This is my rather large Spagetti Squash. It hasn't even started to ripen yet and it's already bigger than I'm used to seeing.


Last but not least we had a Yellow Crookneck Squash. I believe this one is going in a chicken soup tonight!

Thanks for coming with me on a walk through my squash patch. While I am pretty happy with how it's turned out, next time I might space them further apart to make harvesting easier. Then again....